background
Friday, March 16, 2012
Spirelli Photo Frame
Always finding new things I'd like to try while browsing the web.....scarey how much time I can spend doing that! It's called Spirelli. Looks like the old spirograph toy I remember as a child. You weave embroidery floss around a shaped circle and, depending on how many petals you skip and wrap, you get different patterns. I thought to myself, how cute would this be as a frame for a photo for scrapbooking....so here is what I came up with. I adhered metal foil tape to some cardstock and then cut the flower out with my die cutting machine. I embossed it with my Big Kick and added alcohol inks to color it. Glued the picture down and then started winding the floss. It looked cute just like that, but oh how we love to embellish! Again used my die cutting machine (I have a Zing and love it!) to cut the spirals out for the roses and then the leaves. I colored the roses with a watered down metallic paint and glued them all on. I found the dream embellishment in my stash (wished I had another saying handy but it would have to do) and thought it would look cute hanging down for a little added fun (this was added as I did the winding of the floss). The second picture is of the back. I cut out another, smaller scallop shape from the metal foil covered cardstock. I embossed it as well and added alcohol inks to it too. I think I might glue a magnet on the back so it can be put on a fridge. This is a picture of my girlfriends granddaughter.....it's a little gift I'm sending her.....hope she doesn't check my blog! :)


Thursday, March 15, 2012
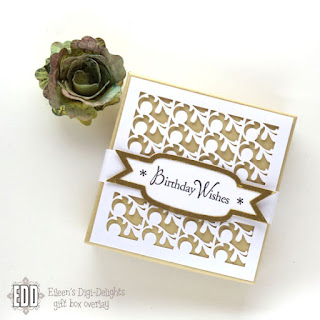
Gift Box Overlays
Wednesday, March 7, 2012
Embossing on Metal Tape
I saw this on You Tube and had to try it. These elements were made using Shurtape which is a thin metal tape used for piecing together duct work, like the kind on the back of your cloths dryer. It has a sticky back. I cut the shapes with my Big Shot and Spellbinders dies. For the scallop circle I taped two pieces onto a piece of cardstock to create a larger area (the tape is only 1 7/8" wide). Then I used alcohol inks to color them. I also added some Rub & Buff antique gold and patina to certain areas. I can see great possibilities for using these on cards and layouts and the sticky backing makes it so easy to apply.

Coke Can Flower
Been having fun today using coke cans....love recycling! I cut the flower out using Tim Holtz Tattered Flowers die and then embossed the layers with a script embossing folder. I then used alcohol inks to color the layers and finally hot glued them all together adding a wispy white feather to the back and a black and gold button in the center. Not sure what I'm going to use it for, but had fun making it.

Subscribe to:
Comments (Atom)


